
Sure, verification can feel like a status symbol — but there are also some really practical reasons you might want that blue check on your Instagram account.
Verification helps Instagram users find real news sources and can help stop impersonation, among other things.
Getting verified adds credibility to any account — which is why so many creators and businesses are interested in that blue check. With Meta Verified, verification is now available to more people through a monthly subscription, not just public figures.
Key takeaways
- Two paths to verification: You can get a blue check either through a paid Meta Verified subscription or by proving you are a “notable” public figure.
- Meta Verified requirements: Costs start from $14.99/month. You’ll also need a government ID, two-factor authentication, and a profile photo showing your face.
- Notable figure requirements: Must represent a real, well-known entity with multiple non-paid media mentions and a complete profile.
- Core benefits: Verification increases account credibility and provides proactive protection against impersonation.
- Timeline: Meta Verified typically takes 48 hours, while notable figure applications can take up to 30 days.
What does it mean to be verified on Instagram?
You’ve almost certainly seen the blue check next to an account’s name on Instagram — that means the account has been verified.
Before the introduction of Meta Verified, that verified badge meant that Instagram had confirmed that the account was both authentic and represents a notable brand or influencer, public figure, or celebrity.
But now Meta Verified offers another route to the verified badge, and Meta (the company that owns Instagram and Facebook) wants to make it clear there’s a difference between the two.
While both of these are routes to getting the coveted blue check next to your Instagram handle, Meta is keen to draw a line between the two. Here’s how they explain it in Instagram’s Help Center.
- Verified badges mean an account has been verified based on their activity across our products and information or documents they provide.
- Meta Verified is a paid subscription that comes with benefits like the verified badge, enhanced support, impersonation protection, and more.
| Feature | Meta Verified | Verified badge (notable) |
|---|---|---|
| Cost | $14.99 per month | Free |
| Eligibility | ID verification and active subscription | Public interest and notability |
| Primary purpose | Validation and account protection | Authenticity for public figures |
| Key benefit | Priority support | High search visibility and credibility |
What are the benefits of getting verified on Instagram?
A verified badge tells Instagram users that an account is authentic — “If an account has the verified badge, we’ve confirmed that it represents who it says it does.”
There are a number of benefits to Instagram verification. If you are a brand or business, getting verified could be a powerful tool in your social media marketing strategy :
- It adds credibility — this can be key if you’re sharing important research, news, or articles.
- Verification assists with impersonation issues — Instagram won’t verify more than one instance of a person or brand, so you can generally trust that the one that is verified is the real account.
- This one’s not confirmed, but there are rumors that verified accounts get higher engagement rates.
If you opt to go the Meta Verified subscription route, you can expect some extra benefits:
- Account protection. Get added protection from impersonation with proactive account monitoring.
- Customer support. Access support for subscription and account issues.
- As previously mentioned, there are rumors of higher reach and engagement with Meta Verified, but I tested Meta Verified and found that it had little effect on my content performance.
There are now two ways to get a blue check on your Instagram account.
The first we’ll unpack here is the simplest, and you don’t need to be a notable figure to do it, but the social media platform will charge you a monthly fee.
As I mentioned earlier, there are two ways to get your verified badge on Instagram. The easiest is through Meta Verified — here’s how to go that route.
Step 1. Make sure you meet the Meta Verified eligibility requirements
To subscribe to Meta Verified, you’ll need:
- To be at least 18 years old
- A public or private profile that’s associated with your full name and has a profile photo that includes your face
- To meet minimum activity requirements, such as prior posting history
- A valid photo ID that matches your profile name and profile picture
- Two-factor authentication is enabled on your profile
- To follow Instagram’s Terms of Use and Community Guidelines
Step 2. Sign up for Meta Verified via Instagram
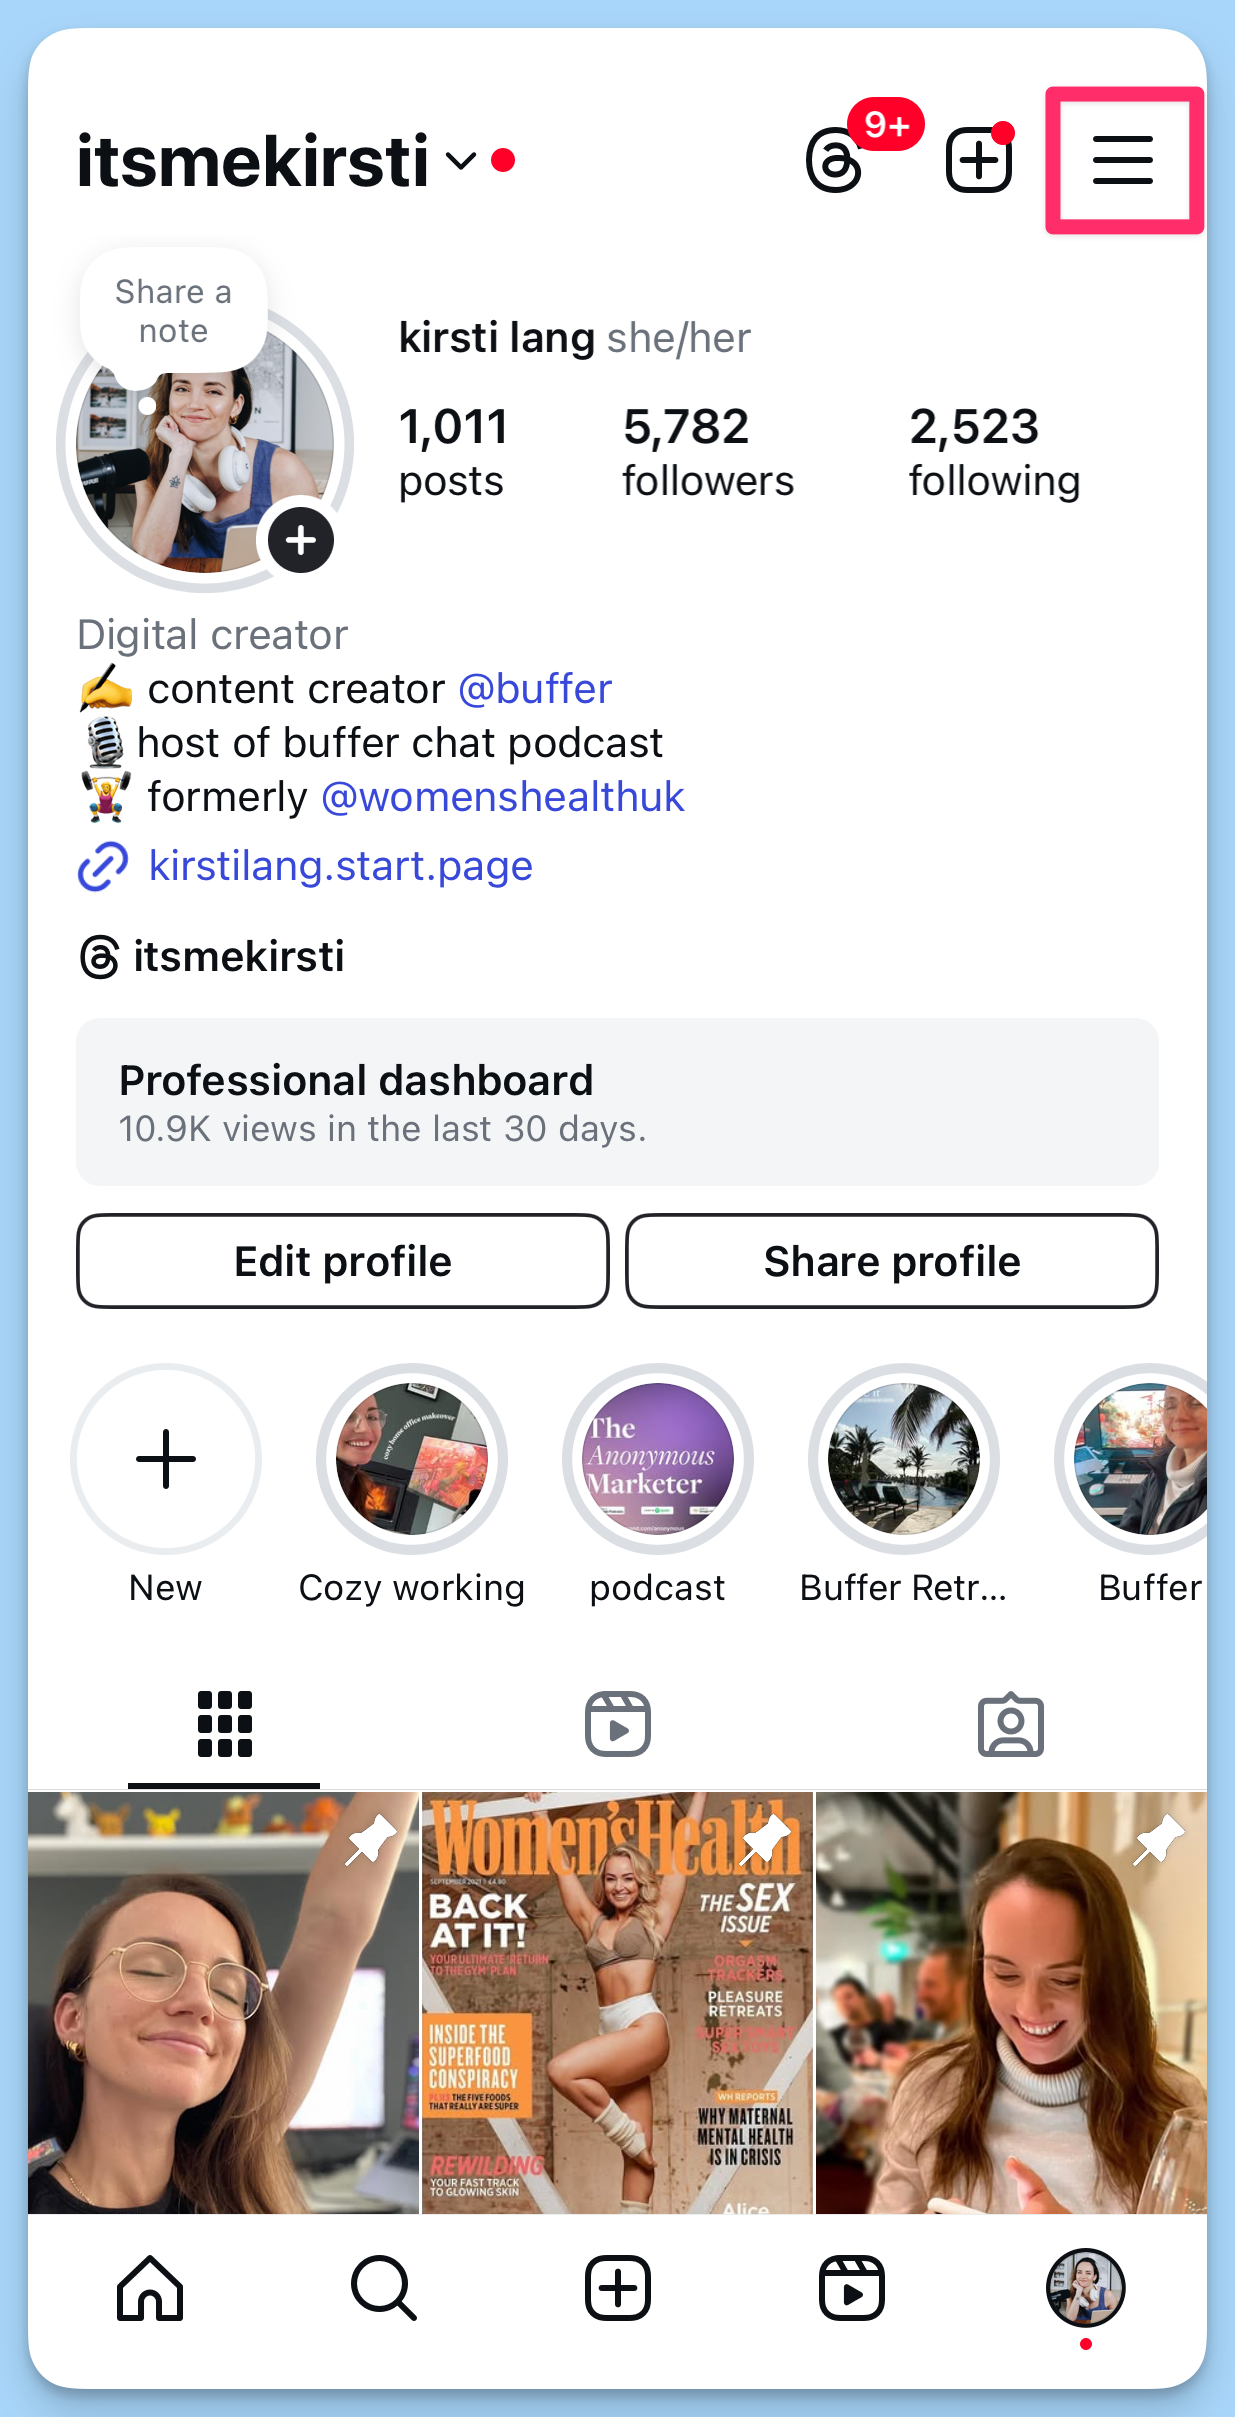
- Head over to your Instagram profile by tapping your profile picture on the bottom right of the app.
- Tap the hamburger menu (the three lines on the top right).
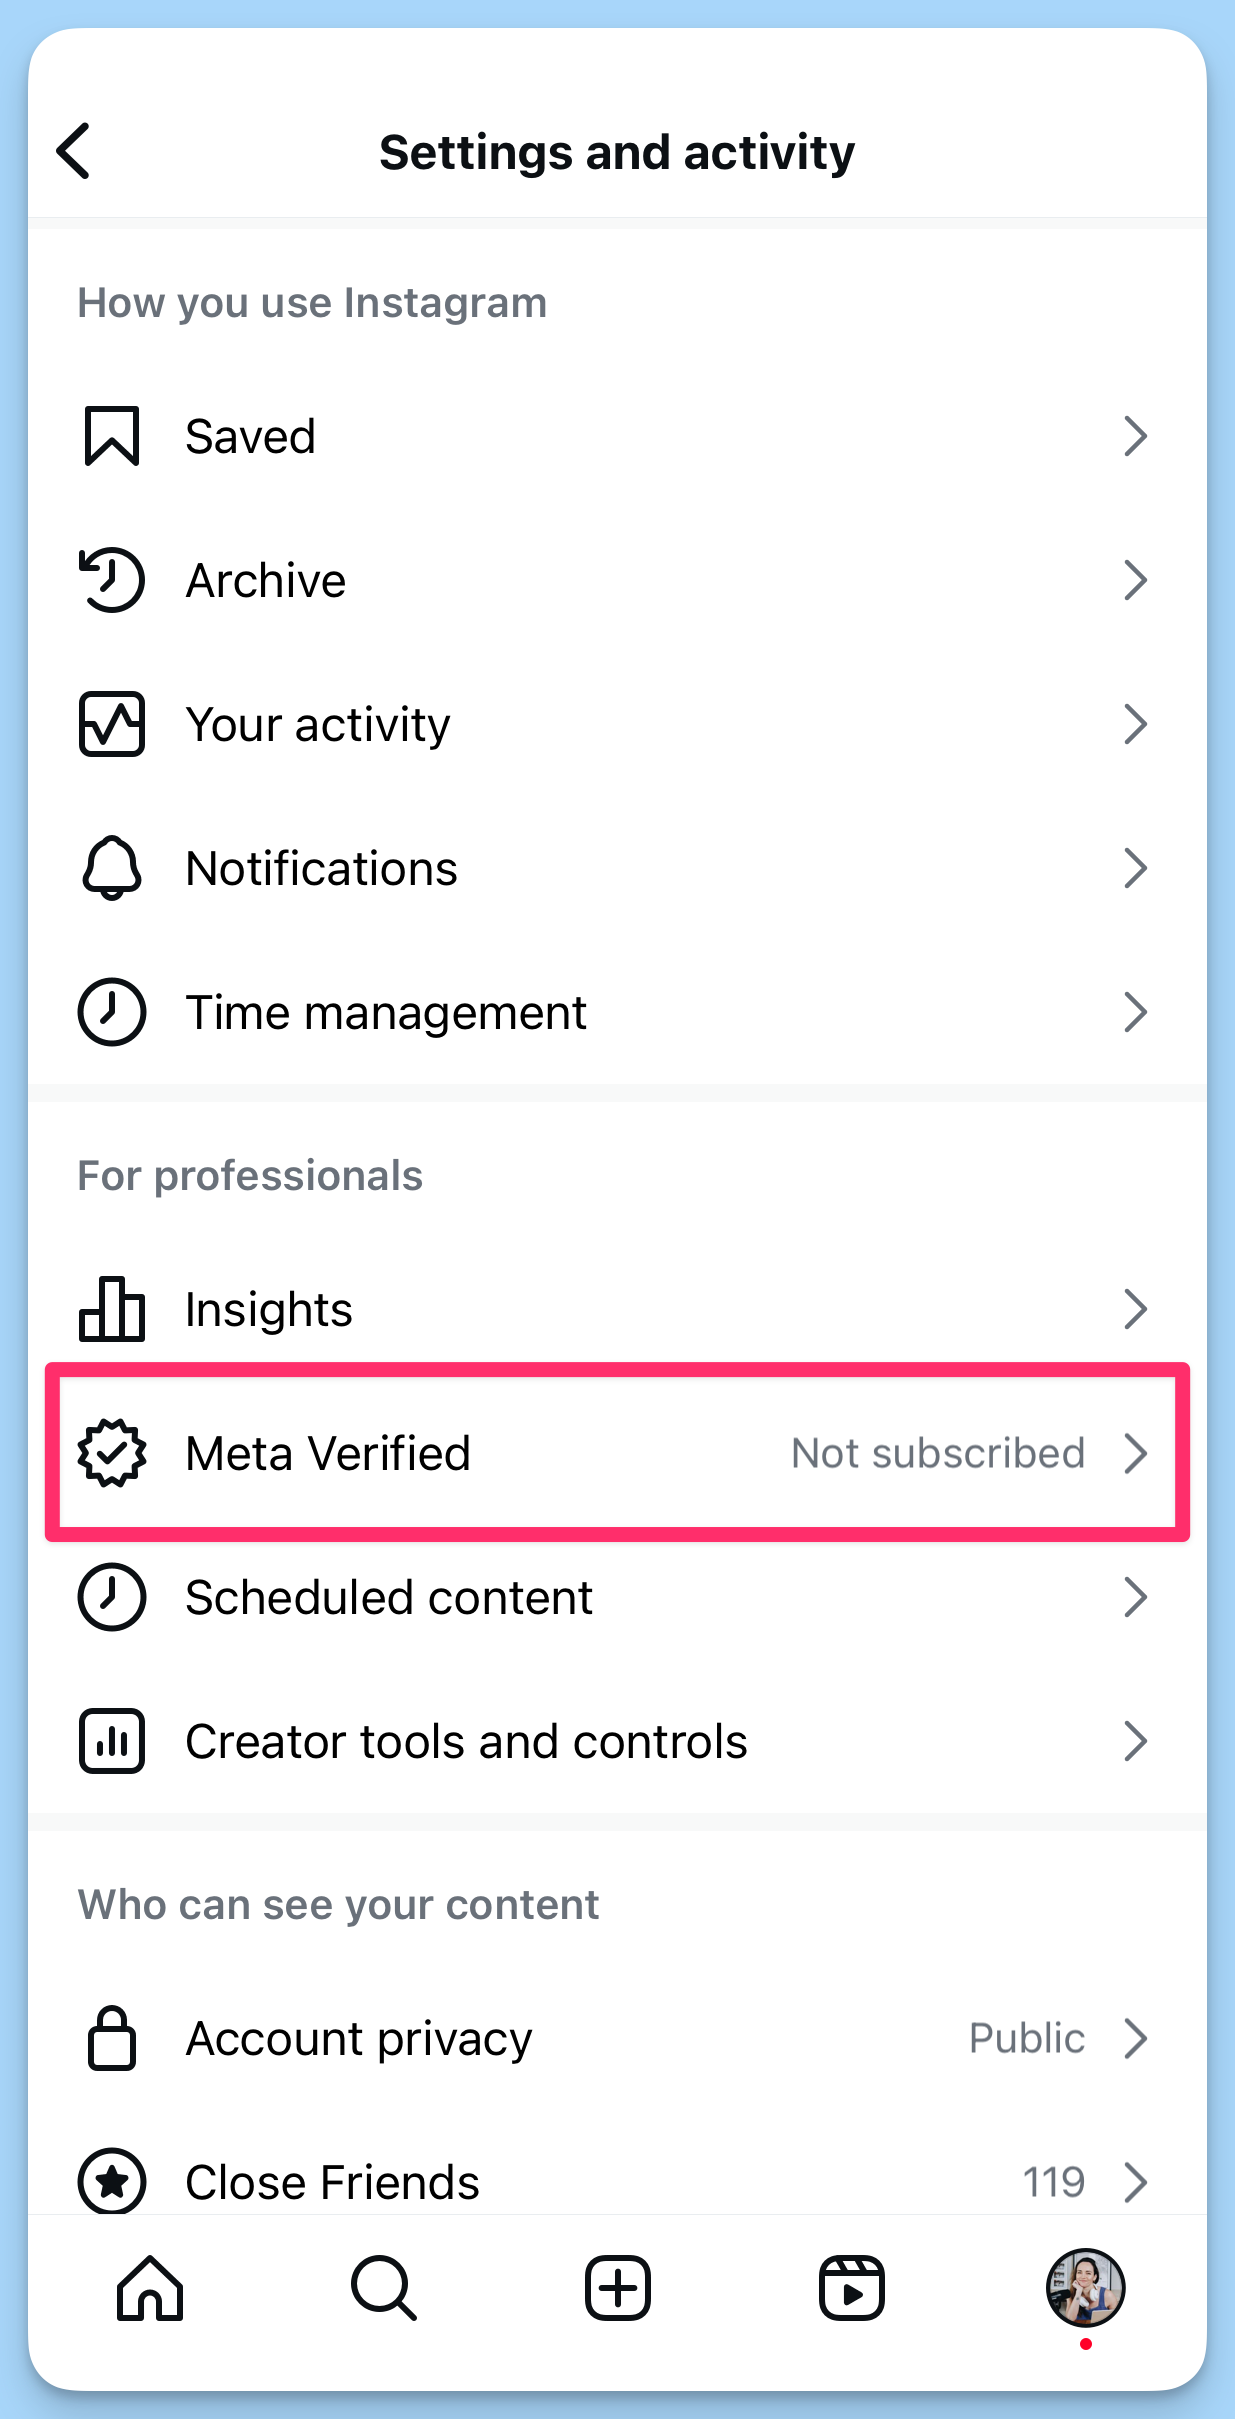
- Choose Meta Verified. Read through the explainer, then tap Next.
- Choose which Meta accounts you’d like verified.
- Confirm and pay. From here on out, you’ll be charged the Meta Verified monthly subscription fee unless you cancel. It could take up to 48 hours for your blue check (and all the benefits) to appear.
2. Get verified on Instagram as a notable figure
This route to getting Instagram verification may be free, but there are a few more hoops to jump through. You’ll need to request your verified badge from Instagram.
Here’s a step-by-step guide to the verification process for notable figures.
Step 1. Follow standard best practices on Instagram (easy)
To be eligible for your verified badge, you’ll need to meet a few requirements:
- You have to follow Instagram’s Terms of Use and Community Guidelines. (That involves things like not spreading false or misleading information, hateful conduct, and violence, which Meta takes really seriously)
- You have to represent a real person
- You need to represent the unique presence of that person or business (only one account per person/business can be verified)
- And you have to have a complete profile: that means a profile picture, a bio, and a public, active account
Step 2. Prove that you are a notable account (more difficult)
To get your verified badge on Instagram for free, you’ll need to prove that you are notable — which will be easier for some than others. Being notable means you “represent a well-known, highly searched-for person or entity,” according to Instagram.
So what does ‘notable’ actually mean? Instagram shared a helpful tip: When looking at whether or not to give an account a verified badge, they look for accounts that have been featured in multiple news sources. Paid and promotional content do not count.
They also made some tweaks to the verification process, expanding their list of news sources to “include more diverse outlets, including those from additional Black, LGBTQ+, Latinx media, and including more outlets from around the world for example.” This is a positive step toward making verification more inclusive and representative.
If you haven’t been featured in multiple outlets (yet), check out the next section for tips on getting your verified badge.
Step 3. Submit an application to Instagram (easy)
The actual application for getting your verified badge isn’t too bad; you do it right from within your own Instagram account.
Here’s how to request to be verified on Instagram:
- From your Instagram account, tap on the hamburger menu in the top right corner.
- In the For professionals section, Tap Creator/Business tools and controls (The button name will depend on whether you have an Instagram Creator account or Business account.)
- Tap Request verification at the bottom of the page.
- Fill out the form (you’ll be asked for an identification document like a driver’s license or passport, your creator category, and links to various articles and other sites you are featured in). When you’ve filled it all out, hit Submit.
That’s it!
You will be notified on the Instagram app within 30 days if your application for a verified badge is successful. If you don’t get verified, you can apply again in 30 days.
❗Important: If you apply more than once before Instagram reviews your first application, they’ll cancel it entirely. So it’s worth waiting rather than accidentally hurting your chances.
3 tips to get verified as a notable figure
Getting verified as a notable figure isn’t easy — but there are things you can do to improve your chances. But it’s not — so here are some things you can do to increase your chances of Instagram verification.
1. Grow your following on Instagram
Instagram verifies accounts that are active on the platform, so stay active while working to grow your account. Part of beingnotable in Instagram’s eyes is how many people are following you on the network, so it’s never a bad thing to keep increasing that number.
Here are some resources to help you grow:
2. Get media mentions
This takes some effort, but it’s definitely doable. You want to start with at least three links for your application, and that’s an achievable goal. You can start reaching out to publications that you believe would be interested in your story or what you’re working on, and pitch them your business.
If you have the budget, you can also hire a publicist or PR agency to help as part of your marketing strategy.
3. Be strategic about when you apply
If you don’t have a really strong case for being verified, be strategic about when you send off that request.
Is a Reel of yours going viral right now? That’s a great time to apply. Did you just get a ton of press mentions in a week? Go ahead and apply! Timing can be everything, so make sure you are careful and thoughtful about your application.
If you’re after your public figure verification badge on Instagram, the best approach is to work your way up gradually. Over time, you can grow your following and prove your notability, which will significantly help the success rate of your application.
If you’re off to apply for that verification right now — good luck to you! 🍀Buffer’s here to make your life easier as you grow your following (and hopefully get verified) on Instagram.
FAQs about Instagram verification
How do I get verified on Instagram?
You have two options:
- Meta Verified (paid) — Go to your profile, tap the menu, pick Meta Verified, follow the ID check, and pay. The blue badge usually appears within 48 hours.
- Notable figure verification (free) — In settings, tap Account type and tools → Request verification. Upload a government ID and share links that prove press coverage or public interest. Instagram reviews these requests in up to 30 days.
Can anyone get verified on Instagram?
Almost. Anyone 18 or older can subscribe to Meta Verified after passing an ID check. The free, notability-based badge is limited to accounts that Instagram deems authentic, unique, complete, and widely recognized in the media or public search.
How many followers do you need on Instagram to get verified as a public figure?
There isn’t a requirement to have a certain number of followers to get a blue check, however, you have to prove that you are notable as part of the verification process, and part of that notability is having people interested in following you.
Instagram will likely take follower count into consideration when they are reviewing your application, which is why we recommend growing your Instagram following before you apply.
How long does it take to get verified on Instagram?
Requesting verification as a public figure takes about 30 days, however, you can be approved and verified much sooner than that. It depends on the team that is reviewing those applications, so it varies a lot.
Getting Meta Verified happens much faster. Once you’ve made your first monthly payment, you can expect to see your blue check — and all the other benefits — on your Instagram profile within 48 hours.
Do you have to pay to get verified on Instagram?
If you’re not a public figure who can apply for free verification via the steps we’ve outlined above, then yes — a paid Meta Verified subscription is the simplest way to get your verification badge.
Be warned, though: There are plenty of scams and websites that promise to get you verified for a fee. Steer clear of these — the only way to get verified is via Instagram or Facebook.
How much does a Meta Verified subscription cost?
Meta verification starts at $14.99 a month for individual creator accounts. Prices can change and may differ by region, so check the total at checkout. You can find the latest plans and pricing here.
What if Instagram rejects my verification request?
You can reapply after 30 days. Before you do, strengthen your profile — secure media mentions, stay active, and make sure your bio, photo, and posts clearly show who you are. Then submit the request again inside the app.